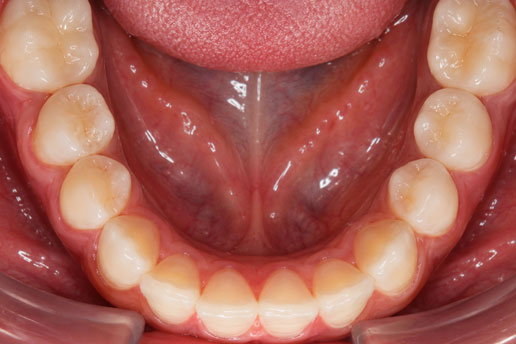
Clinical Photography Guide for Clear Aligner Cases
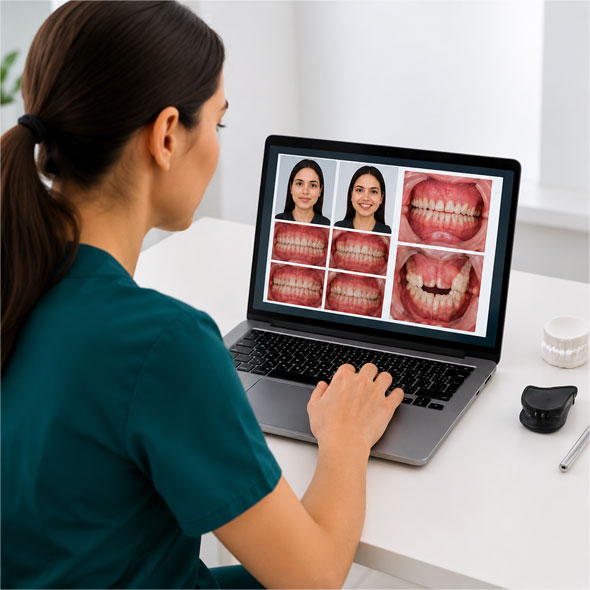
Accurate clinical photography is an essential part of successful clear aligner treatment. High-quality, standardized photographs support accurate diagnosis, digital treatment planning, patient communication, and clinical documentation.
Following a consistent photographic protocol allows the Elencia clinical team to properly evaluate occlusion, smile aesthetics, tooth alignment, arch form, and soft tissue relationships, resulting in more predictable treatment planning.
This guide outlines the recommended clinical photography protocol for submitting clear aligner cases.
Equipment Required
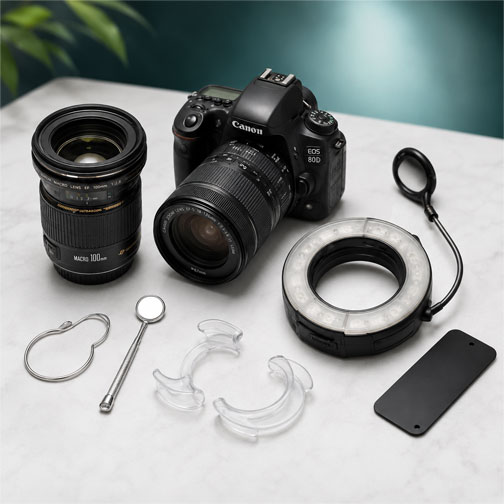
The following equipment is recommended to obtain high-quality, diagnostic photographs:
DSLR or mirrorless camera (preferred)
Macro lens (90–105 mm recommended)
Ring flash or twin flash
Intraoral mirrors
Cheek retractors
Black contrastor (optional)
Grey or neutral background for extraoral photographs
General Guidelines
Before capturing clinical photographs, ensure that:
Ensure teeth are clean and free of debris.
Remove lipstick and excessive makeup around the lips
Dry mirrors to prevent fogging.
Retract soft tissues adequately
Keep images well-focused and evenly illuminated
Capture photographs in high resolution
Required Extraoral Photographs
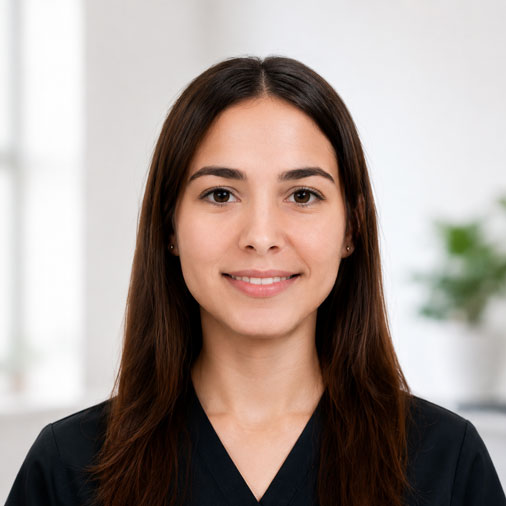
Full Face – Rest Position
Patient looking straight ahead with lips relaxed.
Purpose
Evaluate facial symmetry
Assess lip competence
Document facial proportions
Full Face – Smiling
Patient displaying a natural smile.
Purpose
Evaluate smile aesthetics
Assess smile arc
Analyse smile width
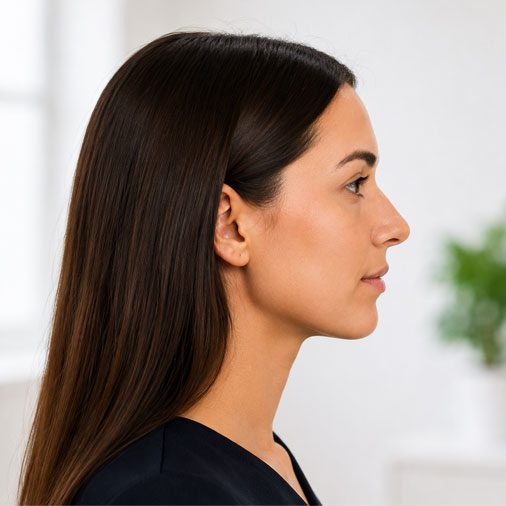
Profile View
Natural head position with relaxed lips.
Purpose
Evaluate facial profile
Assess lip prominence
Analyse soft tissue relationships
Required Intraoral Photographs
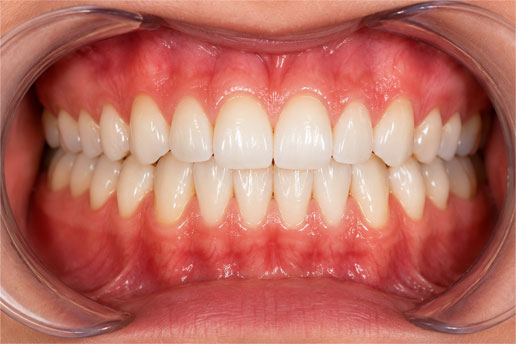
Frontal Occlusion
Patient biting in maximum intercuspation.
Purpose
Evaluate tooth alignment
Assess overbite and overjet
Record occlusion
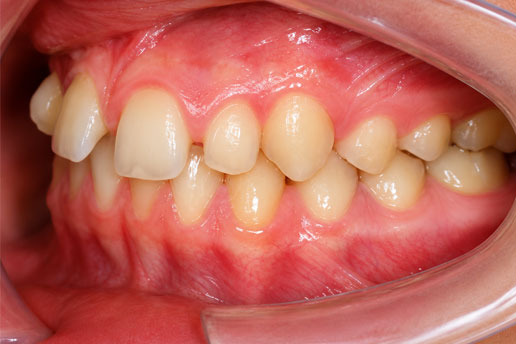
Right Buccal View
Capture the right buccal view in maximum intercuspation using cheek retractors.
Purpose
Assess molar relationship
Evaluate canine relationship
Assess posterior occlusion
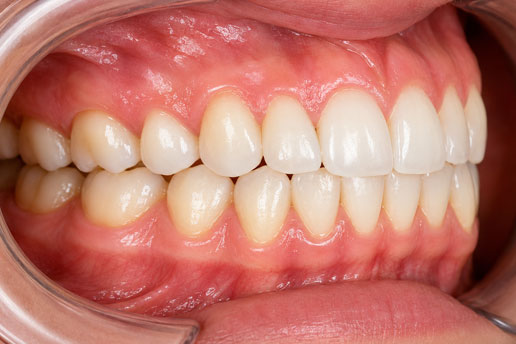
Left Buccal View
Capture the left buccal view using the same protocol.
Standardized clinical photography is a critical component of predictable clear aligner treatment. Clear, well-composed photographs enable accurate diagnosis, efficient digital treatment planning, and effective communication between the treating clinician and the Elencia clinical team.
Following this protocol helps ensure consistent, high-quality clinical records for every patient.
Learn Advanced Aligner Protocols with Elencia
Elencia Aligners provides comprehensive clinical support, treatment planning assistance, and provider education programs to help dentists achieve predictable aligner outcomes.
From attachment placement protocols to advanced biomechanics, our clinical team supports providers at every stage of treatment.